Getting Started: Small, in a Jar
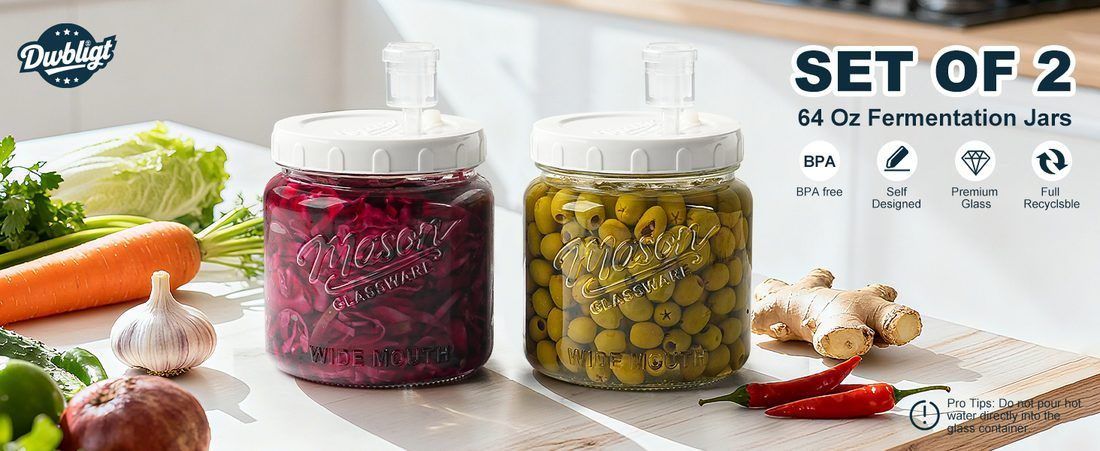
If you want to start fermenting vegetables, start in a half-gallon jar with an airlock in a rubber bung. Not a crock. I want to be blunt about that, because I did it the other way around and it cost me a batch and most of my confidence.
My first ferment was a failure, and it was a scale problem
My first ferment was sauerkraut in a one-gallon crock, and it did not turn out well.
That’s a small crock as crocks go, and a gallon of kraut is not an ambitious amount of food. But it was the wrong first project, and I understand why now in a way I didn’t then. A one-gallon open crock gives you the exact set of problems a beginner is least equipped to solve, and it gives you none of the feedback you need to solve them:
- You can’t see anything. Opaque stoneware, a lid, and a follower on top. Is it bubbling? Is the brine still covering? Is something growing? You find out by taking the whole thing apart, which disturbs it, or you find out at the end.
- The surface area is large relative to the volume, so the air interface is a bigger share of the batch than it would be in a tall jar, and every problem starts at that interface.
- An open crock needs a real weighting solution, and improvised weighting is where beginners lose batches. Anything that floats up, or any cabbage that rides above the brine, is where it goes wrong.
- A gallon is enough food that failing hurts. Which means you take fewer swings, and swings are how you learn this.
I don’t remember every detail of that batch decades later, but I remember the shape of the failure: I couldn’t tell what was happening, and by the time I could tell, it was over.
So I backed up
Then I went down to a half-gallon jar with an airlock in a rubber bung, and everything got easier at once. That’s the progression, and the order is the useful part:
1-gallon crock (failed) → half-gallon jar + airlock (worked) → the German Gärtopf → 5-gallon, 10-gallon, and 30-gallon stoneware crocks.
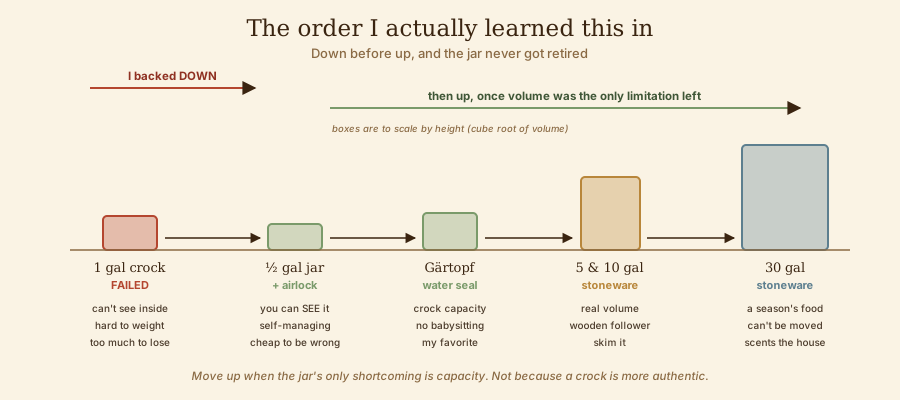
And here is the part I want to make sure lands, because it’s not what you’d expect from somebody who ended up with a thirty-gallon crock: I still use the jar method, constantly. It is not the beginner’s version I graduated from. It’s the right tool for a small batch, an experiment, a single vegetable, or anything I want to watch. The big crocks are for volume, and volume is a different goal from learning or testing.
Why the jar-and-airlock works so well
You can see it. This is 80% of the value. Through the glass you can watch the bubbles start, watch the brine level, watch the color change, and see immediately if something is floating or growing. When you’re learning what normal looks like, being able to look at it every day for three weeks is worth more than any instruction I can write.
The airlock removes the hardest judgment call. A one-way valve — water in a little plastic S-bend or three-piece airlock — lets CO₂ out and doesn’t let air in. You don’t have to decide whether to burp it, or how often, or whether that hiss meant something. It self-manages.
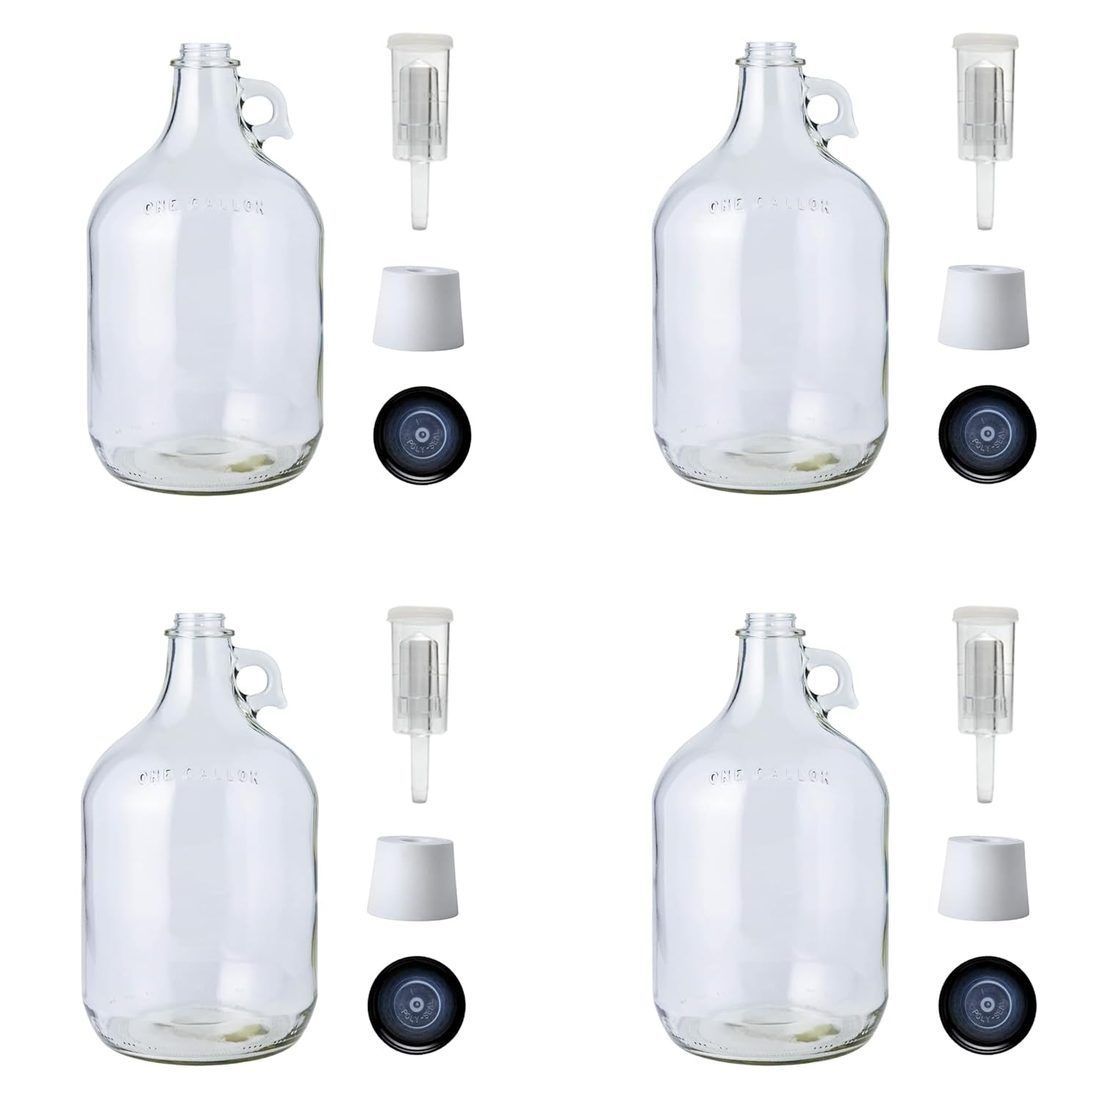
A rubber bung makes it a system rather than a purchase. A drilled rubber stopper that fits the jar mouth, with the airlock pushed through it, is a few dollars from any brewing supplier, and it’s the same part in the same drawer as the beer equipment. Nothing here is fermentation-specific hardware you have to go find.
The geometry is better than a crock’s. A tall narrow vessel has a small surface-to-volume ratio. Less air interface, less to go wrong, and the vegetables themselves plus a small weight will hold the mass down under its own brine.
Half a gallon is exactly the right amount to be wrong about. It’s a real batch — several meals, worth eating — but a failure costs you one head of cabbage and three weeks of patience. That’s a cheap tuition.
What you actually need
The whole list, and most of it you have:
| Item | Notes | Rough cost |
|---|---|---|
| Half-gallon wide-mouth jar | Glass. Wide mouth matters — you have to get vegetables in and out. | $8–12 |
| Drilled rubber bung | Sized to your jar mouth. Take the jar to the shop or measure carefully. | $2–4 |
| Airlock | Three-piece or S-bend, either is fine. Buy two; they’re cheap and they crack. | $2–4 |
| A digital scale | The one non-negotiable purchase. Grams, 0.1 g resolution if you can. | $12–25 |
| Fermentation weight | Glass weight, a smaller jar, or a brine-filled zip bag. | $0–12 |
| Canning or pickling salt | Or any pure salt without anti-caking agents. | $3 |
That’s it. Under fifty dollars including the scale, and the scale gets used for bread and sausage too.
Two things deliberately not on that list: an airlock lid kit with a silicone nipple (they work, but the bung-and-airlock is cheaper, more visible, and repairable), and a pH meter (useful later, unnecessary now — you will not be near the safety margin, and a cheap meter that drifts is worse than none). When “later” arrives, what to buy and what to avoid is written up properly — including why the $12 aquarium pen is the specific thing not to buy.
Your first batch, start to finish
I’d make sauerkraut first. It’s the ferment that needs the least equipment, has the widest margin, and teaches the most, because the cabbage makes its own brine and you get to watch it happen.
1. Weigh the jar empty. Write the number down. This is the trick that makes the whole thing easy — you’ll use the jar as your scale bowl.
2. Shred a cabbage. One good-sized head is roughly right for a half-gallon jar. Quarter it, core it, and slice it about ⅛ inch — a knife is fine, a mandoline is faster. Save one outer leaf whole; you’ll use it at the end.
3. Weigh the shredded cabbage. Put it in the jar loose and weigh, then subtract the empty jar. Say you get 900 g.
4. Compute the salt. For kraut, 2.25% by weight is the standard and it’s what I use.
900 g × 0.0225 = 20 g of salt
That’s the entire arithmetic of this hobby. Multiply the vegetable weight by the percentage. If you want it a little firmer or your room is warm, go to 2.5% (22 g). Don’t go below 2%.
5. Salt it and work it. Tip the cabbage into a bowl, add the salt, and massage it with clean hands for five to ten minutes. It will fight you and then suddenly give up — the salt draws water out through the cell walls and the volume collapses by half. When there’s a real puddle of brine in the bottom of the bowl, you’re done. This liquid is your brine. Don’t pour it out.
6. Pack it. Into the jar, a handful at a time, pressing each layer down hard with a fist or a wooden tamper. You want the brine to rise above the cabbage as you compress it. Pack to about 3 inches below the rim — it will expand and bubble, and this is the headspace that keeps it out of your airlock.
7. Cap it with the cabbage leaf, then weight it. Fold that reserved outer leaf and lay it over the shredded cabbage. It catches the small floating bits that always escape a weight. Then set your weight on top and press until the brine covers everything.
8. Fit the bung and airlock. Fill the airlock to its line with water. Seat the bung firmly.
9. Put it somewhere cool and dark and leave it alone. 60–70 °F is a good window. Cooler is slower and better-tasting; warmer is faster and blander. Out of direct sun.
10. Watch it. Bubbles in one to three days. Vigorous bubbling for several days after that. The color goes from bright green-white to a translucent pale gold. The smell goes from cabbagey to sharply sour.
11. Start tasting at about a week. Clean fork, take a strand, re-cover and re-weight. Then taste every few days. Stop when you like it — that’s the only correct endpoint. A week is mild and still crunchy; three weeks is proper sauerkraut; longer is deeper and softer.
12. Move it to the fridge. Cold doesn’t stop the ferment, it slows it to a crawl. It’ll keep for months and keep slowly changing.
The full recipe with variations is Sauerkraut, Basic Crock or Jar, and the deeper treatment is on the Sauerkraut page.
What normal looks like, so you don’t panic
Almost every “help, is this ruined?” question is one of these, and all of them are fine:
- Cloudy brine. Normal. That’s bacteria — it’s the point.
- White sediment on the bottom. Normal. Settled yeast and bacteria.
- Vigorous bubbling, then it stops. Normal, and it means the Leuconostoc stage finished. The ferment continues without visible gas.
- The brine level rising, or overflowing. Normal, and why you left headspace. Wipe it up.
- A sulfurous smell in the first few days. Normal for cabbage-family vegetables.
- A flat, wrinkly white film on the surface. That is almost certainly kahm yeast, which is harmless. It is not mold. Learning to tell them apart is the single most useful diagnostic skill here, and it’s on Troubleshooting with pictures.
- Fuzzy, raised, colored growth — blue, green, black, pink. That is mold, and that one gets a real answer rather than a reassurance. See Troubleshooting.
The order I’d learn this in
If you’re starting from zero, this progression builds real skill and each step teaches something the last one didn’t:
- Sauerkraut — self-brining, wide margin, teaches salt percentage and the whole succession.
- Fermented carrot sticks or green beans — your first added brine, so you learn to compute brine strength for a vessel rather than a vegetable.
- Kimchi — a seasoning paste and a two-stage process, but still forgiving. Also delicious enough to keep you going.
- Fermented cucumber pickles — deliberately fourth, because they are the hardest of the common vegetable ferments. High brine, real texture problems, genuinely temperature-sensitive. Do not start here; the classic beginner heartbreak is a crock of cucumber mush.
- Yogurt — a different family entirely, needs a culture and temperature control, and it’s a fast loop: you know by morning.
- Kombucha or kefir — continuous cultures. Different discipline: now you’re keeping something alive on a schedule, not making a batch.
When to move up to a crock
Move up when the jar’s limitation is genuinely volume and nothing else.
That’s the honest test. Not because a crock is more authentic, and not because you’ve earned it. The crock’s advantage is that it holds a lot; the crock’s cost is that you can’t see inside and you need a real weighting and sealing solution. If you’ve made kraut in a jar half a dozen times and you know what week two smells like, you already have the skill and the crock is just capacity.
For me the sequence after the jar was a water-sealed German Gärtopf — which is the crock that solves the air problem the way the airlock does, with a water moat instead of a valve — and then up into 5-gallon, 10-gallon, and finally 30-gallon stoneware with wooden followers I made myself. That’s a genuinely different scale of operation, and there is a question about antique stoneware glaze that I don’t think gets asked often enough. Both are on Vessels & Crocks.
I love the Gärtopf. Of all of it, that’s the one I’d hand somebody who was ready to step up.
Where to go next
- Sauerkraut — the first thing to make, properly covered.
- Salt & Water — the percentages for everything, and how to compute an added brine.
- Vessels & Crocks — the Gärtopf, the big stoneware, and the lead question.
- Troubleshooting — read this before something goes wrong, not after.
Comments (0)