Coffee · 6 of 21
Home Roasting, Step by Step
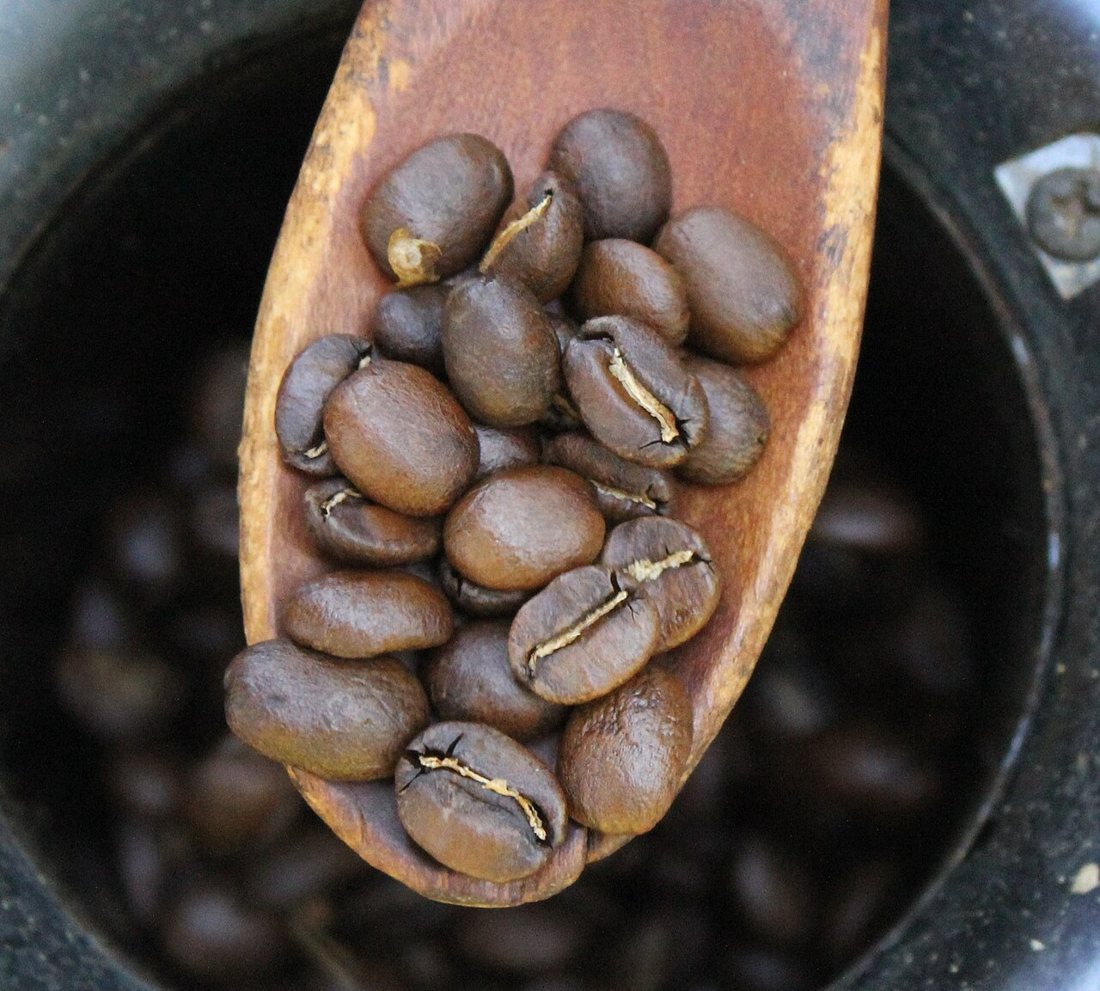
This page is the follow-along companion to Roasting Your Own: one set of numbered steps for each home method, with the batch size, heat, timings and cues that the published guides give. Most of it comes from the method guides in the Sweet Maria’s Coffee Library, the best-documented source for home roasting, with a heat-gun primer and roasters’ forum reports where no institutional guide exists. Those gaps are marked where they occur.
If you have never roasted before, start with the hot-air popper. Sweet Maria’s calls it “the best of the DIY methods”, and it is the most forgiving of the cheap ones. Its first-time advice for the pan methods is blunter: “An air popper is 93% foolproof!”
Before any method
- Ventilation. Every method makes smoke, and a lot of it once first crack arrives. Work under an exhaust fan that vents outside, beside an open window, or outdoors. Some methods have no indoor option at all (the heat gun) or need a real outside-venting hood (the stovetop crank popper).
- Never leave a roast. Sweet Maria’s, on the popper: “Never leave the popper while roasting!” The Whirley-Pop maker’s own instructions say the same of its popper. The last minute of a roast moves fast, and chaff is flammable.
- Have the cooling set-up ready before you start: two metal colanders (one is enough), or a large baking sheet, and somewhere with moving air. Roasting continues until the beans are cool.
- A scale and a timer. Write down the batch weight and the time to first crack every time; that record is what makes the next roast better.
- Buy a sampler of green coffee rather than several pounds of one bean. Sweet Maria’s sells green coffee and home-roasting equipment.
What the beans do, stage by stage
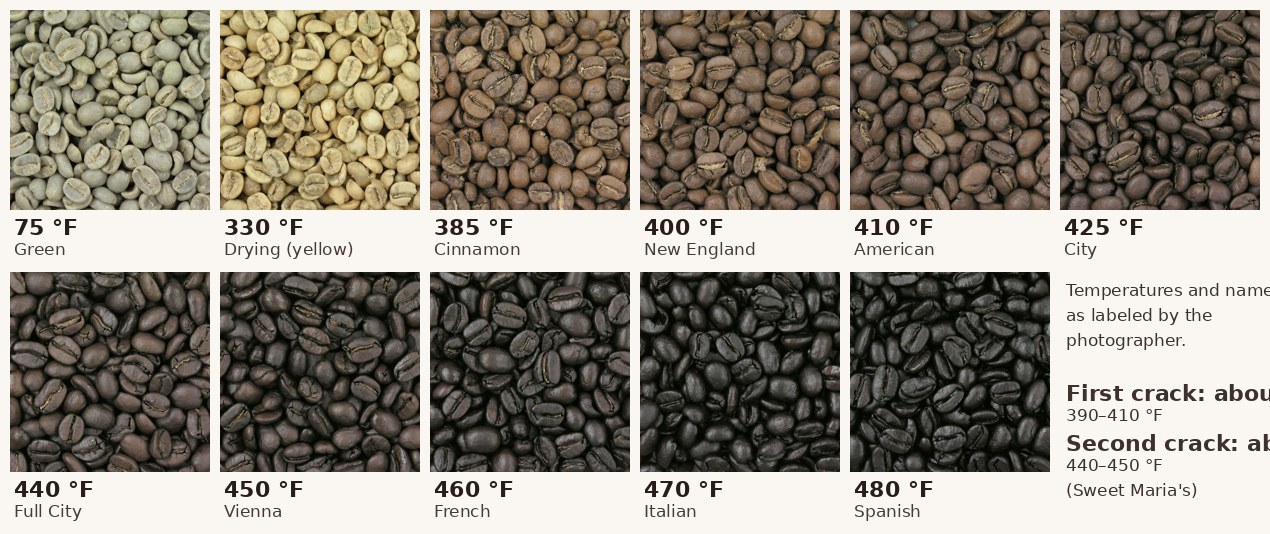
| Stage | What to look for | What you hear and smell |
|---|---|---|
| Green | Grey-green, hard | Nothing |
| Drying / yellowing | Beans lighten to yellow or tan and begin to steam | A grassy, wet-hay smell — steam, not smoke |
| Light brown | Tan to cinnamon | Toasted grain or baking bread |
| Just before first crack | Brown, still dry | The steam turns fragrant; light smoke begins |
| First crack | The crease opens and chaff lifts off | Popping, like popcorn, at about 390–410 °F |
| City (end of first crack) | Light brown, dry, textured surface | A lull after the popping stops; a bright, acidic cup |
| Full City | Medium brown, on the verge of second crack | Smoke increases |
| Second crack | Darkening quickly; oil begins to appear | Faster, fainter crackling — “Rice Krispies in milk” — at about 440–450 °F |
| French and beyond | Near-black and oily | Pungent smoke; past this is “charcoal water” |
Stages from Sweet Maria’s roast guides and glossary, with Coffee Review for the smells. The exact temperature at first crack depends on where the thermometer sits, so treat the numbers as a guide and the sounds as the signal.
Stop a little early. Every method guide says to pour the beans out “a tad lighter than the color you desire”, because they keep roasting until they are cool. And the popper guide’s warning holds for every method: if you hear second crack, “you are already going to have a dark roast taste, even if the coffee doesn’t look dark and oily”.
Method 1: Hot-air popcorn popper — the recommended first roast
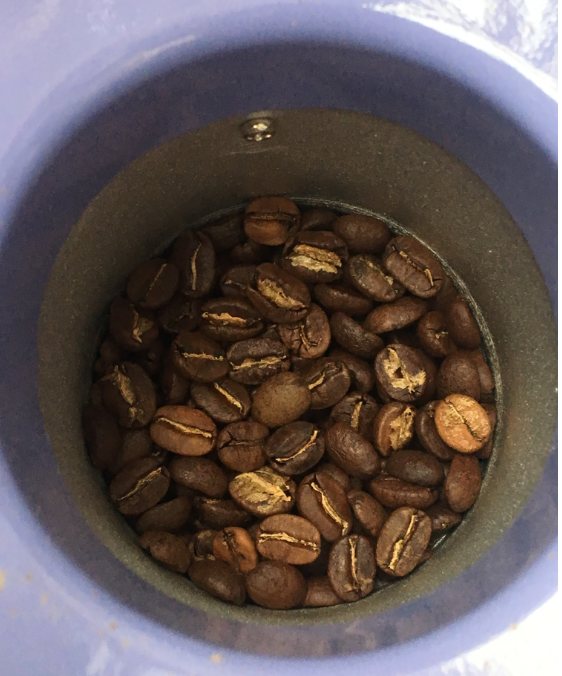
Which popper. It must be a hot-air popper whose hot air enters the chamber through side vents, so the beans swirl in a circle. Poppers that blow air up through a mesh-covered hole in the floor tend to throw the beans out late in the roast, as they lose weight; a glass chimney on top can make one workable. Old thrift-store poppers are often the right design, but check that the plastic parts are uncracked. Some poppers have two heating elements, and if one has died the popper will run but never get hot enough.
Batch: about 3 oz (85–110 g). The guide’s trick: with the popper running, add green coffee until the beans just stop swirling; they will start moving again as they lose weight.
Steps
- Set up under an exhaust fan or by a window, with a strong light to see into the chamber. Put the popper by the sink or over a bowl: the chaff blows out of the chute.
- Weigh the batch and pour it in with the popper running. Put the plastic hood on.
- Watch for steam, then listen for first crack at about 3–5 minutes.
- Wait a minute, then watch closely — by eye, and better by smell and sound. In the final phase “each 10 seconds of popper roasting will result in a different coffee flavor.”
- Stop at about 4–6 minutes total for a lighter roast, 5–6 for Full City, 6½–7 for darker. Pour out a little lighter than you want.
- Cool at once in a colander, stirring or tossing between two colanders, or spread on a large baking sheet.
- Let the popper cool 15 minutes before the next batch.
If it goes wrong
- Too fast: use a long extension cord laid out straight (not coiled) to drop the voltage, or switch the popper off for about 20 seconds while stirring, once after about a minute and again at first yellow.
- Too slow: plug it straight into the wall on a circuit with nothing else running, and move it out of the cold. Cold weather can add minutes.
- Hot air but no progress: the batch is too small to block the airflow; add beans.
- It keeps cycling off and never gets darker: that is the popper’s thermal safety switch. Some roasters bypass it; that is a fire-safety modification of a mains appliance, and this site does not recommend it.
- Never run two poppers on one household circuit; at 1,200–1,400 W each, it overloads it.
Sweet Maria’s full guide: Air Popcorn Popper Method.
Method 2: Skillet or wok
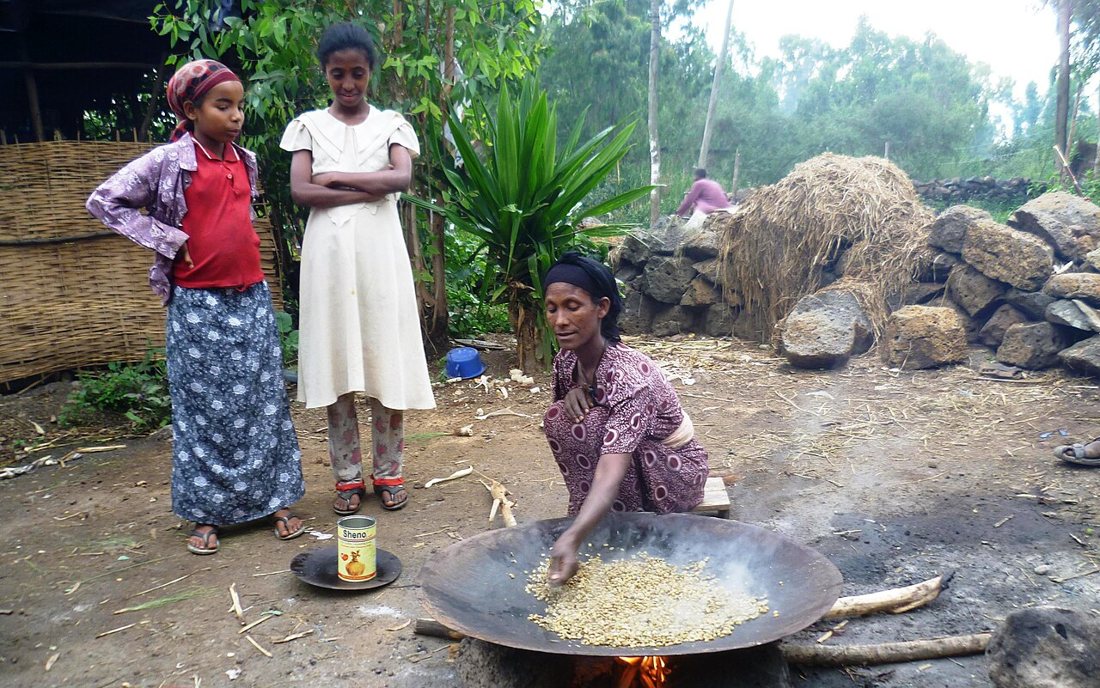
Equipment: a heavy skillet (cast iron is preferred; thin aluminum or stainless pans are “not ideal”) or a wok; a wooden spoon or a whisk; an oven thermometer; a colander; oven mitts.
Batch: Sweet Maria’s gives about 9 oz (12 oz by volume) for a large skillet. The first-roast plan on Roasting Your Own uses a smaller 100 g batch.
Steps
- Turn on the exhaust fan or open a window.
- Preheat the pan over a low flame (or medium electric setting) with the lid on and an oven thermometer inside. When it reads 400 °F, let it stabilize at about 450 °F.
- Take out the thermometer, add the beans, and keep them moving — stir continuously, or shake the pan. A lid holds heat but makes stirring hard.
- Listen for first crack and smell for smoke. Sweet Maria’s guide gives about 5–7 minutes; its staff have also said that 5 minutes in cast iron is “really fast” and probably leaves the inside of the bean underdone, and that “stovetop roasting requires some patience to slowly and gently heat the coffee”. If first crack comes very early, preheat less next time.
- Ease the heat a little after first crack to avoid scorching, and check the color every minute or so.
- Pour into a colander a little lighter than you want, and stir or toss until warm to the touch. Blow lightly on the beans, outdoors or over a sink, to lift off the chaff.
Expect unevenness. “It’s easy to scorch the beans and produce uneven roasts.” A spread of colors is normal, and uneven color alone is not a sign of a bad roast. Picking out any black beans after cooling helps.
Sweet Maria’s full guide: Stovetop Coffee Roasting in a Pan.
Method 3: Stovetop crank popper (Whirley-Pop or StovePop)
A covered pan with a hand-cranked stirring arm, which solves the stirring problem. Sweet Maria’s now sells and prefers the stainless VKP StovePop to the aluminum Whirley-Pop (which does not work on induction).
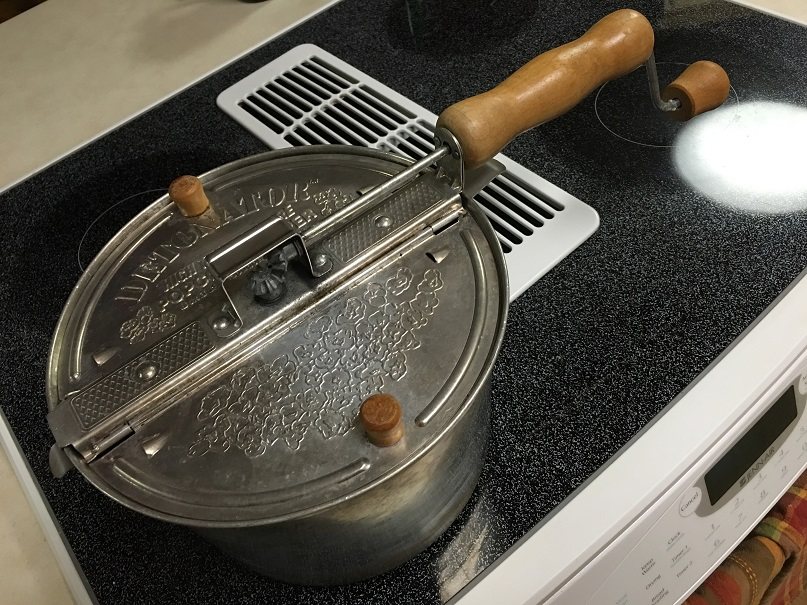
Equipment: the popper; a thermometer — “essential for this method”; one or two colanders; an oven mitt. A range hood that vents outside, or a camp stove outdoors: this method makes a lot of smoke.
Batch: 8–9 oz (about 12 oz by volume); up to a pound is possible but harder to get right. Practice cranking with green beans and no heat first.
Steps
- Preheat on a low flame or medium electric setting until the thermometer reads about 400 °F. Never use the highest heat.
- Add the beans and crank at a steady, medium pace for the whole roast. The thermometer will drop to about 350 °F; keep it between roughly 300 and 400 °F until the end. (It reads the air in the popper; the pan bottom is hotter, so do not roast by temperature alone.)
- At about 6 minutes you should hear first crack and see smoke. Wait a minute and reduce the heat slightly, or lift the popper off the burner — not so much that the roast stalls.
- Check the color by flipping the lid open about every 30 seconds. Second crack comes at about 9–12 minutes.
- Pour into a colander a little lighter than you want and toss until cool. The whole roast is 8–15 minutes of cranking.
Two cautions. The Whirley-Pop maker’s own popcorn instructions say never to heat the popper empty, while the Sweet Maria’s coffee method preheats it; the maker publishes no coffee instructions. And if the stirring arm jams, crank back slightly rather than forcing it.
Sweet Maria’s full guide: Stovetop Popper Method.
Method 4: Oven
Sweet Maria’s is lukewarm on this one: it “affords only a small chance of success in terms of roast quality”, produces only Full City to French roasts, and its method is written for a gas oven — “plain ol’ electric ovens will roast too unevenly.” It does roast more coffee per batch than any other method.
Equipment: a stainless wire-mesh colander (best), a perforated pan, or a folding vegetable steamer; an oven thermometer; a spoon, a colander and mitts.
Steps
- Spread the beans one layer deep, close together, with no cookie sheet underneath the mesh (a steamer can sit on one).
- Preheat to 500 °F, checked with the oven thermometer, and roast on the middle shelf.
- Wait about 5–7 minutes for first crack, then 2 minutes more before checking the color. With a mesh colander, open the oven about every minute and shake the beans quickly.
- If it takes more than 12 minutes to reach medium brown, start the next batch at 520–530 °F. A roast longer than 20 minutes will taste flat.
- Dump into a colander a little lighter than you want and cool, outdoors or over the sink.
The oven vents the smoke into the kitchen, and the beans are hard to see.
Sweet Maria’s full guide: Gas Oven Roasting Method.
Method 5: Heat gun and a metal bowl
The method with the most control for the least money, and the one that must be done outside: it throws off a lot of smoke and chaff. This follows Michael Lloyd’s heat-gun primer, a hobbyist guide rather than a tested procedure.
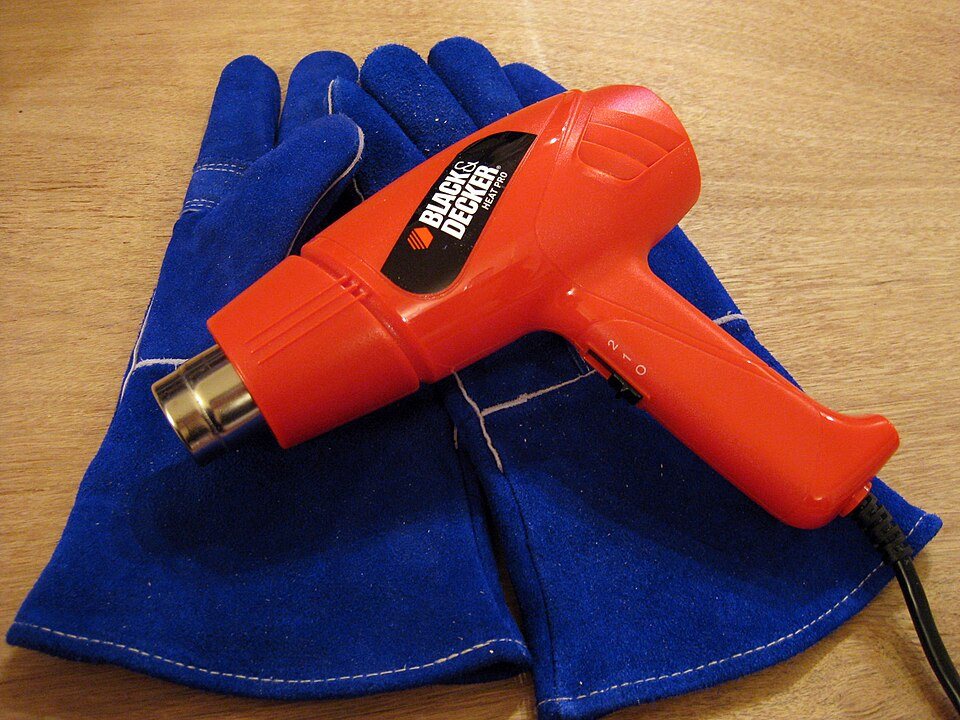
Equipment: a heat gun that reaches at least 500 °F with an airflow of at least 14 CFM (too little and it will not roast; too much and it blows the beans out); a round, uncoated stainless steel bowl — the classic is a dog bowl — at least 2½–3 inches deep and holding four times the volume of the beans (non-stick coatings may not tolerate a heat gun and can release fumes; heavy cast vessels make hot and cold spots); a heatproof spoon and a colander.
Batch: the primer’s sample roast is 2 cups, about 10–11 oz. Roasters’ reports put about 10 oz near the practical limit for a good gun; beyond that, add about a minute per ounce.
Steps
- Outdoors, on a heatproof surface. Gun on low, the nozzle about 1–1½ inches from the beans, moving the hot air evenly over the surface and stirring constantly.
- After about 4–6 minutes the beans smell grassy and turn light tan.
- Switch to high and bring the nozzle to about ½–1 inch. Move it closer or farther as the roast speeds or slows, and keep stirring.
- First crack at about 8 minutes, second crack at about 9 for this batch. Stop where you want.
- Dump into a colander and cool. Run the gun on its cool setting before putting it away.
Chaff lifting off the beans can catch fire in the airflow; the primer says it self-extinguishes, which is another reason to do this outside and away from anything flammable. If a roast takes 30-plus minutes, the gun is being held too far away.
The bread-machine variant
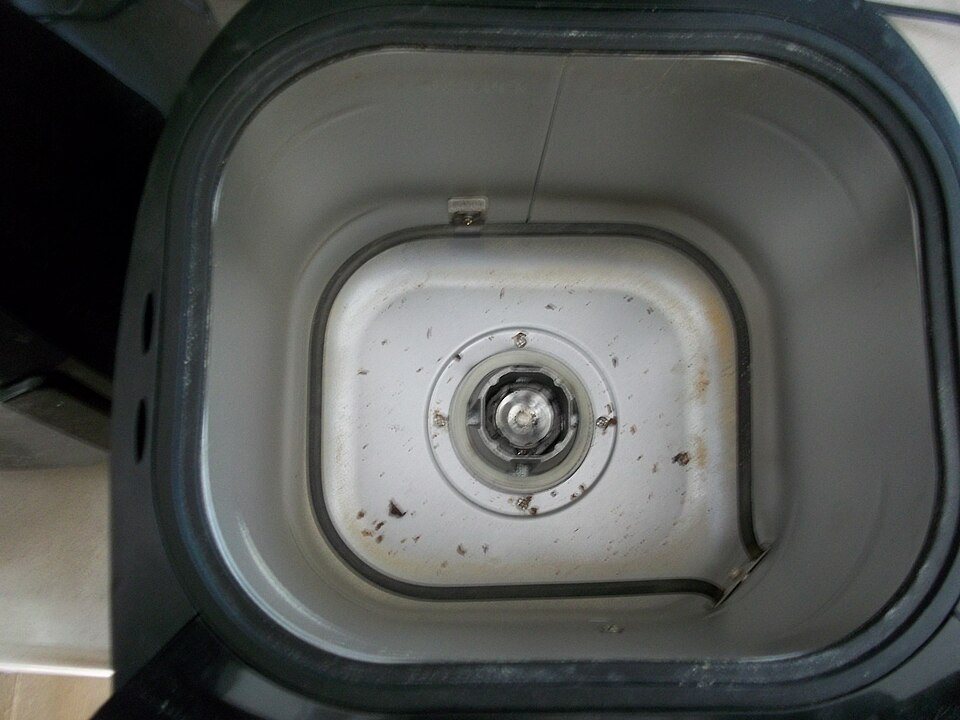
Roasters put the bowl’s job into a bread machine: the kneading paddle stirs, the heat gun points down into the pan, and batches of 12 oz to about 1 lb reach first crack in 6–9 minutes. There is no institutional guide to this; the sources are roasters’ forum threads, and several describe rewiring the machine for continuous stirring or defeating its overheat sensor, which are modifications of a mains appliance. It belongs in the garage or outdoors.
A step up: electric home roasters
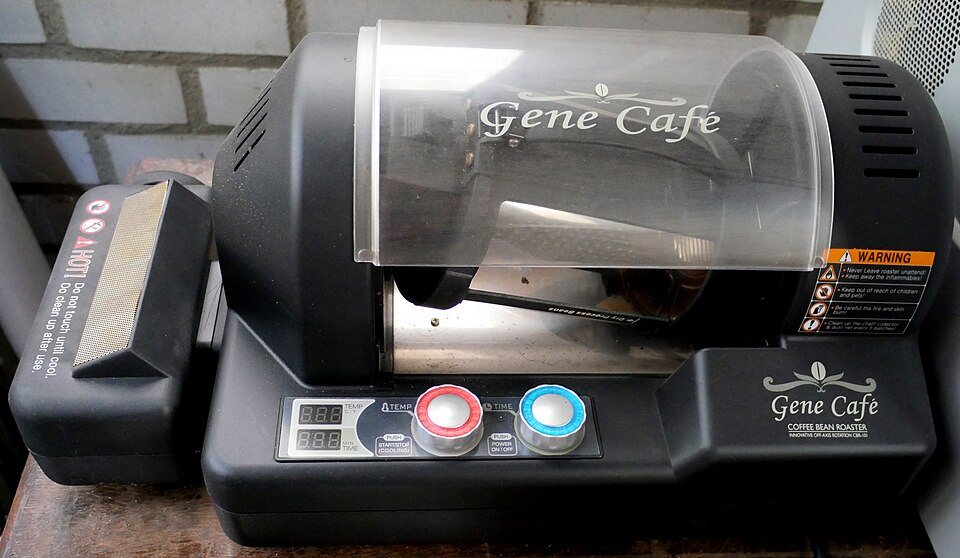
Small electric roasters are either fluid-bed (the popper idea, in a proper machine) or drum. Air roasts ideally take about 7–12 minutes and drum roasts 14–20, in batches from about 4 oz to 1 lb depending on the model. As of 30 September 2026 Sweet Maria’s lists them from about $95 to $690. There is always smoke, and small units last “an average of two years”. See the machines for the models.
Cooling, resting and keeping
- Cool fast. Pour the beans into a metal colander with plenty of holes (a solid-walled steel one holds its heat) and stir or pour between two colanders in moving air until they are just warm. Do not mist them with water: Sweet Maria’s retracted its own misting advice because it “can damage the coffee flavor, and reduces the shelf life”.
- Expect a weight loss of about 11–16%, depending on the roast: about 13% at City and 15–16% at Full City+ to French. 100 g of green gives roughly 85 g roasted.
- Rest before brewing. Freshly roasted coffee is full of CO₂. Sweet Maria’s puts the peak at about 12–24 hours after roasting (up to 3–5 days for some espresso); the National Coffee Association says to rest it 2–3 days and brew within about 2–7 days.
- Store in an airtight glass jar out of the light, but leave the lid loose for the first 12 hours so the gas can escape. Home roasts are at their best for about a week. Freeze only what will not be drunk within a week, and thaw it once.
The most common first-roast mistakes
- Scorching: too much heat in a pan or oven, or an overloaded popper. It tastes thin, burned or skunky.
- Going too dark: a home roast that looks dark and oily has usually gone too far, because color keeps developing after the beans come out. Strong coffee comes from the dose, not a darker roast.
- Flash-roasting: high heat, a batch that is too small, or the wrong popper design, so the outside roasts before the inside.
- Peeking too often in a covered popper, which lets the heat out.
- Brewing too soon: give it at least 12 hours.
For the science of what the heat does, see How Coffee Is Roasted; for the reasons to roast at home, and when not to, Roasting Your Own.
Sources
The method guides of the Sweet Maria’s Coffee Library: the air popper, recommended popper design, pan, stovetop popper and gas oven methods, its how to roast your own coffee stage guide, weight-loss, cooling, storage, first-time mistakes and home-roaster FAQ pages; Michael Lloyd’s heat-gun and dog-bowl primer (homeroaster.com, now offline); Home-Barista forum threads on the heat gun and bread machine; Wabash Valley Farms’ Whirley-Pop instructions; Coffee Review’s home-roasting series; and the National Coffee Association’s roast guide.
Comments (0)