Making Your Own Paste
This is the part of the dive I would most like people to actually try, because the gap between a good tub and a fresh homemade paste is bigger than the gap between a supermarket tub and a good one.
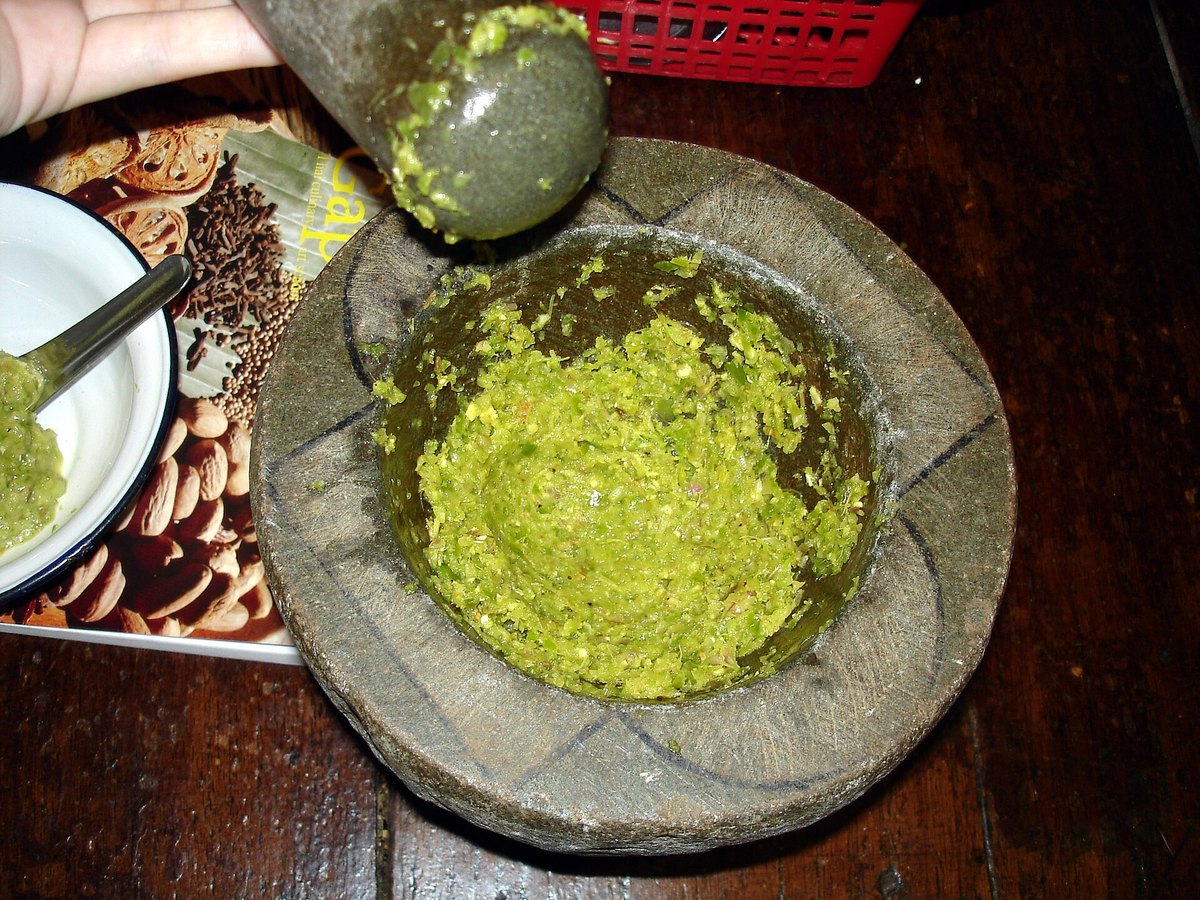
The mortar really is better, and here is why
I am generally sceptical of “you must use the traditional tool” arguments. This is the case where I think it is true, and the reason is mechanical rather than romantic.
A blender cuts. A mortar crushes.
A blade slices cell walls open and throws the contents around. A pestle ruptures them under pressure and grinds the fragments into each other. The result is a genuine emulsion of fibre and oil — a paste that is smooth, homogeneous and clingy — rather than a wet mince suspended in liquid.
There is a practical consequence too: a blender needs liquid to move. Add water and you have diluted the paste and made it harder to fry properly. A mortar needs none, which is why a mortar-made paste is more concentrated.
And a third: the fibrous ingredients — lemongrass, galangal, makrut zest, coriander root — are tough and stringy. A blender leaves them as visible threads. A mortar destroys them. If you have ever eaten a homemade curry and found bits of lemongrass in your teeth, that is the blender.
The tool: a heavy granite mortar with a rough interior, at minimum 6 inches across — the Thai khrok hin. The smooth marble apothecary mortars sold in Western kitchen shops are the wrong tool; they are too slick and too shallow. Expect to spend twenty to forty minutes on a batch.
If you use a machine anyway
Perfectly reasonable — I do it when I want two cups of paste rather than half a cup.
- Use a small food processor or a spice/coffee grinder, not a big blender. Big blenders will not grip a small quantity.
- Chop everything very fine first, especially the lemongrass and galangal. Slice the lemongrass thinly across the grain before it goes in — this is the single biggest improvement.
- Add as little liquid as you can get away with. If you need lubrication, use a spoonful of oil, not water — the paste is going to be fried anyway, and oil does not dilute it.
- Scrape down constantly and be prepared to run it much longer than feels reasonable.
- Hybrid: machine first for the bulk, then thirty pounds in the mortar to finish. Most of the benefit for a fraction of the labour.
The order of operations
Pounding order is not arbitrary. Hardest and driest first, wettest last — because the tough things need the abrasion of a dry mortar, and the wet ones would cushion them.
- Salt — first, always. It is an abrasive. A tablespoon of coarse salt in the bottom of the mortar does real mechanical work grinding everything else, as well as seasoning.
- Dry whole spices, already toasted and preferably already ground.
- Dried chilies — soaked, squeezed out, roughly chopped.
- Tough fibrous aromatics — lemongrass, galangal, makrut zest, coriander root. This is the long stretch. Do not move on until they have genuinely broken down.
- Garlic and shallot — much softer; they come apart quickly.
- Fresh chilies, if the paste uses them.
- Shrimp paste — last, worked in at the end. It is already a paste; it only needs incorporating.
Test for doneness: rub a little between finger and thumb. No fibres, no grit, no identifiable pieces. If you can feel strands, keep going.
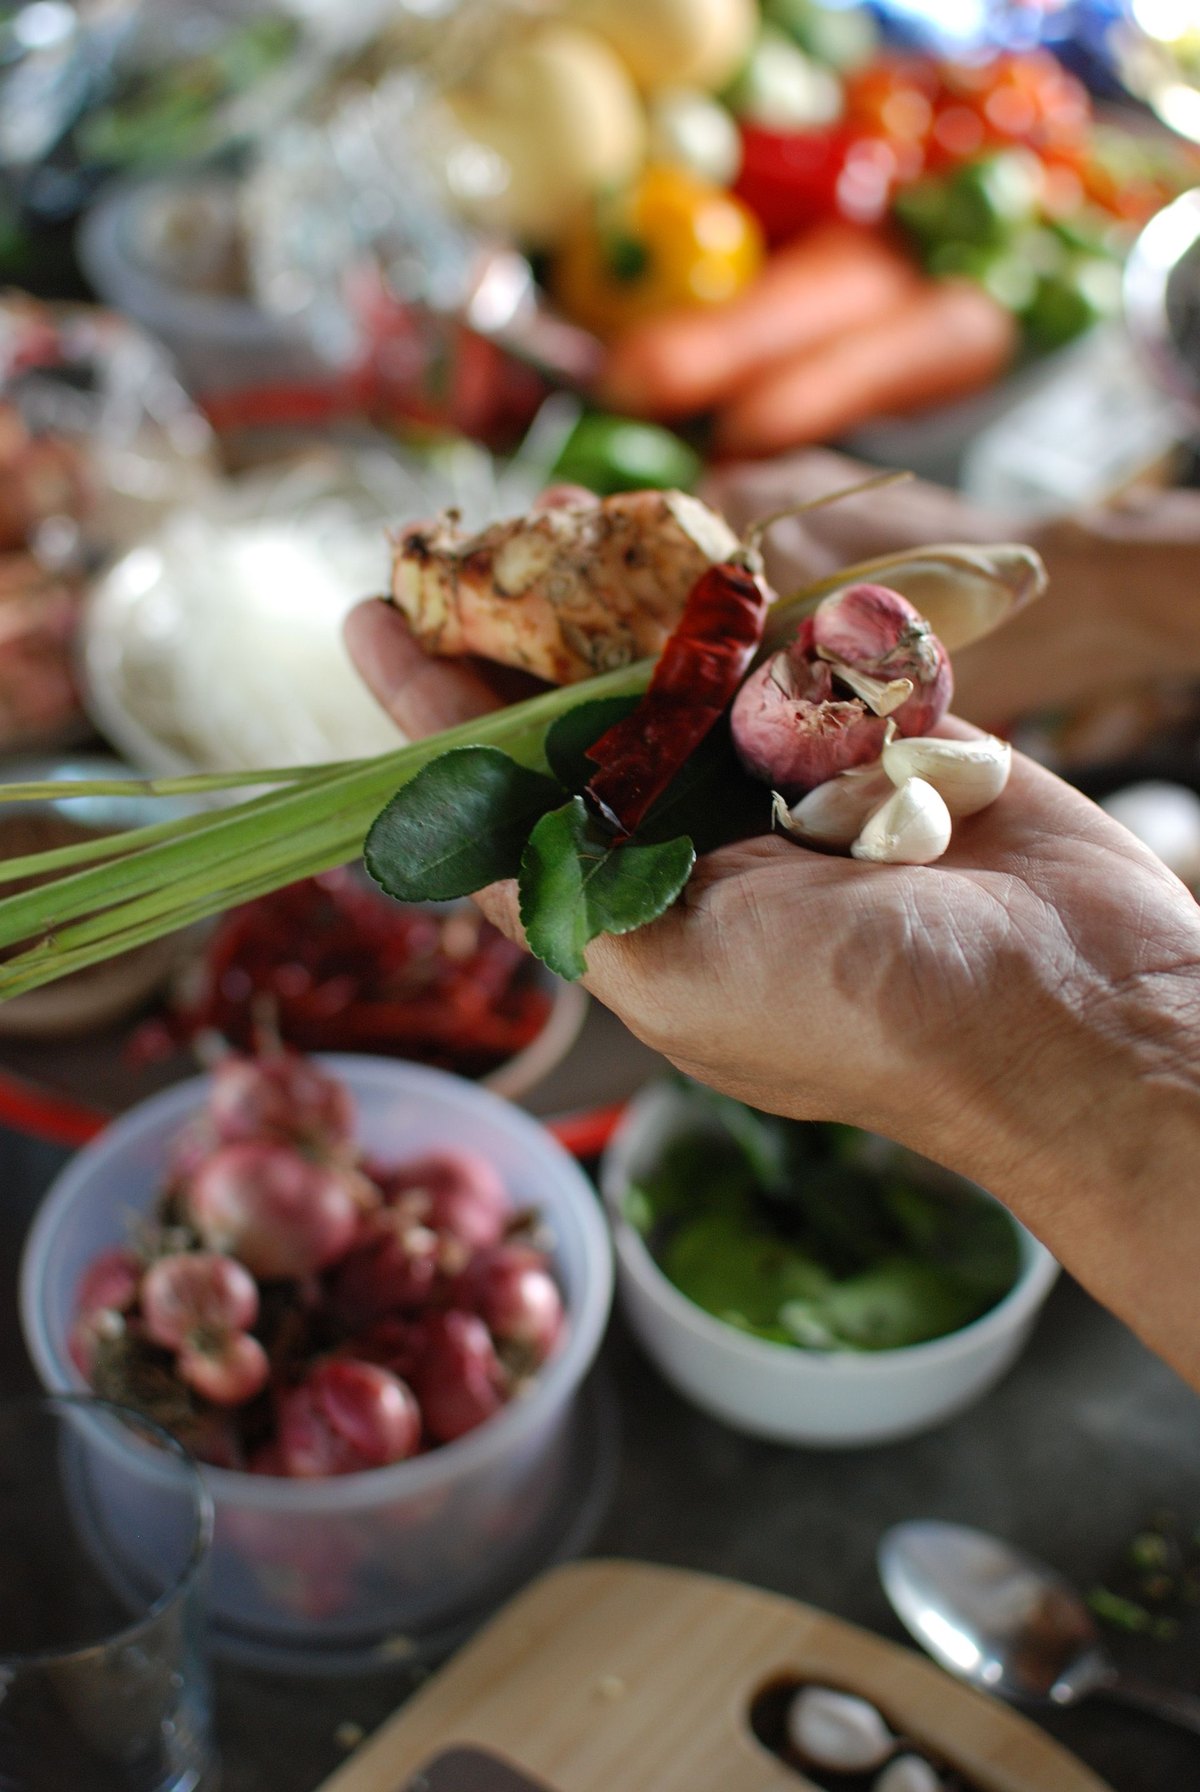
Preparing the components
Dried chilies. Stem them, and decide about seeds — seeds and especially the pale internal membrane carry most of the heat, so removing them lets you use more chili for colour and body without the dish becoming unbearable. Then soak in warm water 20–30 minutes until pliable, and squeeze them dry before pounding. Wet chilies make a wet paste.
Toasting dry spices. Dry pan, medium heat, keep them moving, until they smell — usually one to three minutes. Cumin and coriander darken slightly. Take them out of the pan immediately, because the pan keeps working. Cool before grinding, or the residual heat will make the grinder gum up.
Shrimp paste. Raw kapi is aggressive. Wrap a lump in foil and toast it in a dry pan for a couple of minutes a side, or hold it over a flame — it mellows dramatically and stops smelling like low tide. Traditional and worth doing.
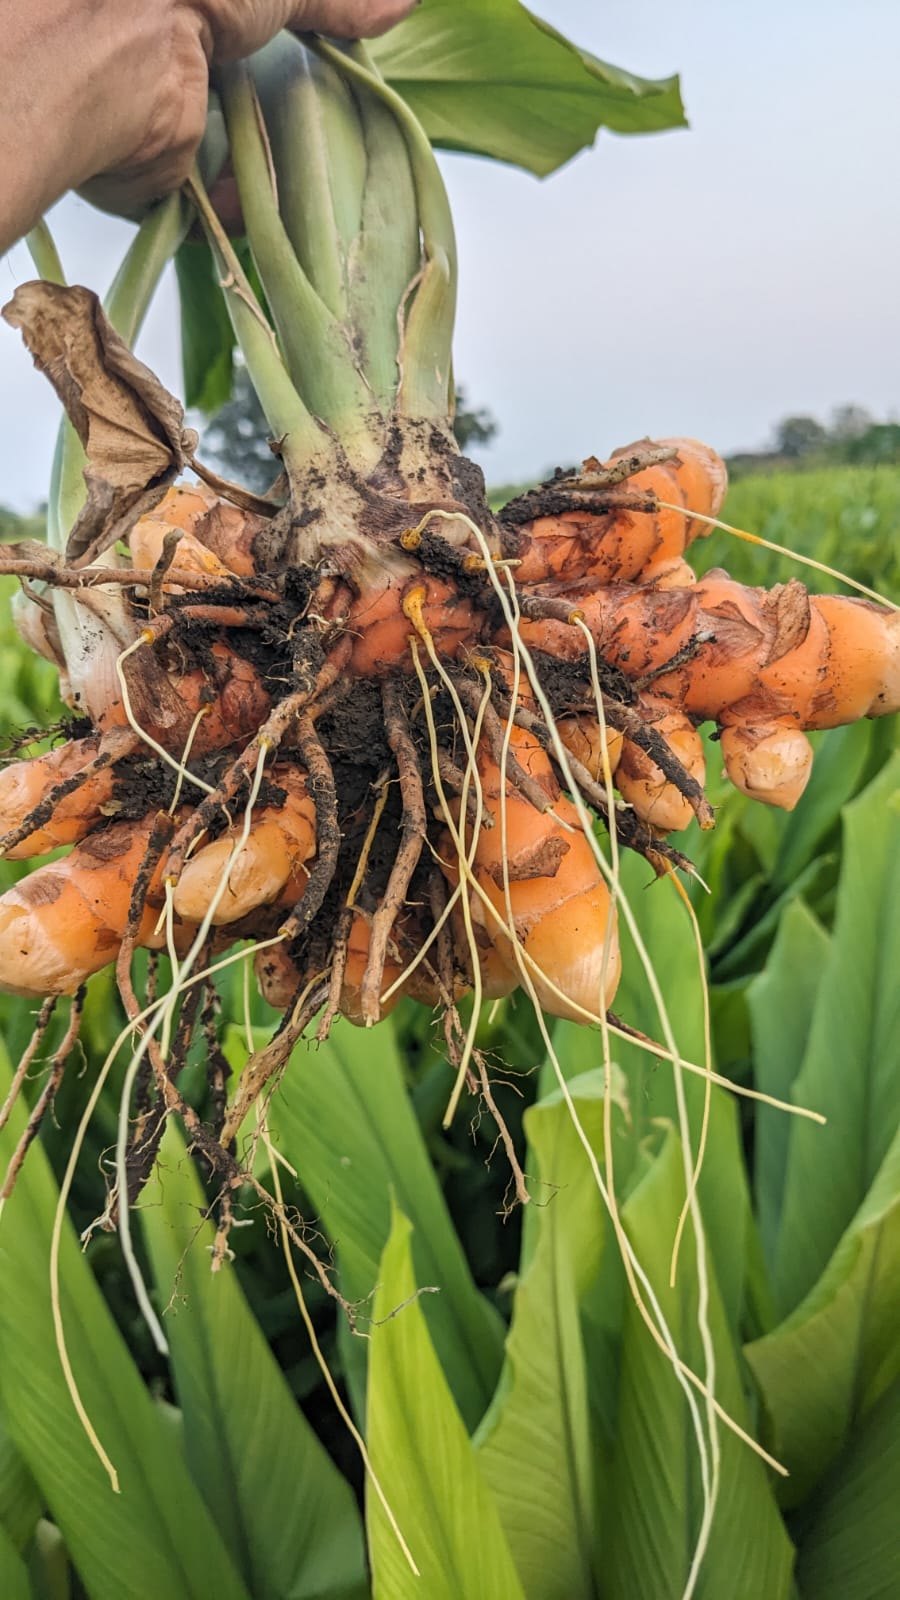
Fresh turmeric, for yellow paste, will stain everything it touches — hands, mortar, wooden spoons, worktop. Gloves. I mean it.
Storage
- Fridge, in a jar with a film of oil on top — two weeks or so.
- Freezer, in an ice-cube tray, then bagged — six months, easily, and this is what I would actually do. A cube goes into the pan straight from frozen.
- The colour will fade — green especially goes grey-green within days. That is oxidation, not spoilage. The flavour holds far longer than the colour.
- A thicker paste keeps better than a wet one, which is another argument for the mortar.
What about the Indian side?
Different tradition, and mostly a different problem. Indian cooking makes dry blends (ground powders) plus a fresh wet base built in the pan from onion, ginger and garlic — so “make your own paste” mostly means make your own spice blend, then grind ginger-garlic fresh each time.
For dry blends the rule is the same: whole spice, toasted, ground fresh, made in small batches. A spare coffee grinder kept only for spices is the best twenty dollars in this whole hobby.
The recipes
Every paste and powder in this dive is written up as a proper recipe, in Paprika and here:
Thai:
- Thai Red Curry Paste (Prik Gaeng Phet)
- Thai Green Curry Paste (Prik Gaeng Khiao Wan)
- Thai Yellow Curry Paste (Prik Gaeng Kari)
- Massaman Curry Paste (Prik Gaeng Matsaman)
- Panang Curry Paste (Prik Gaeng Phanaeng)
South Asian and beyond:
Comments (0)